

 By
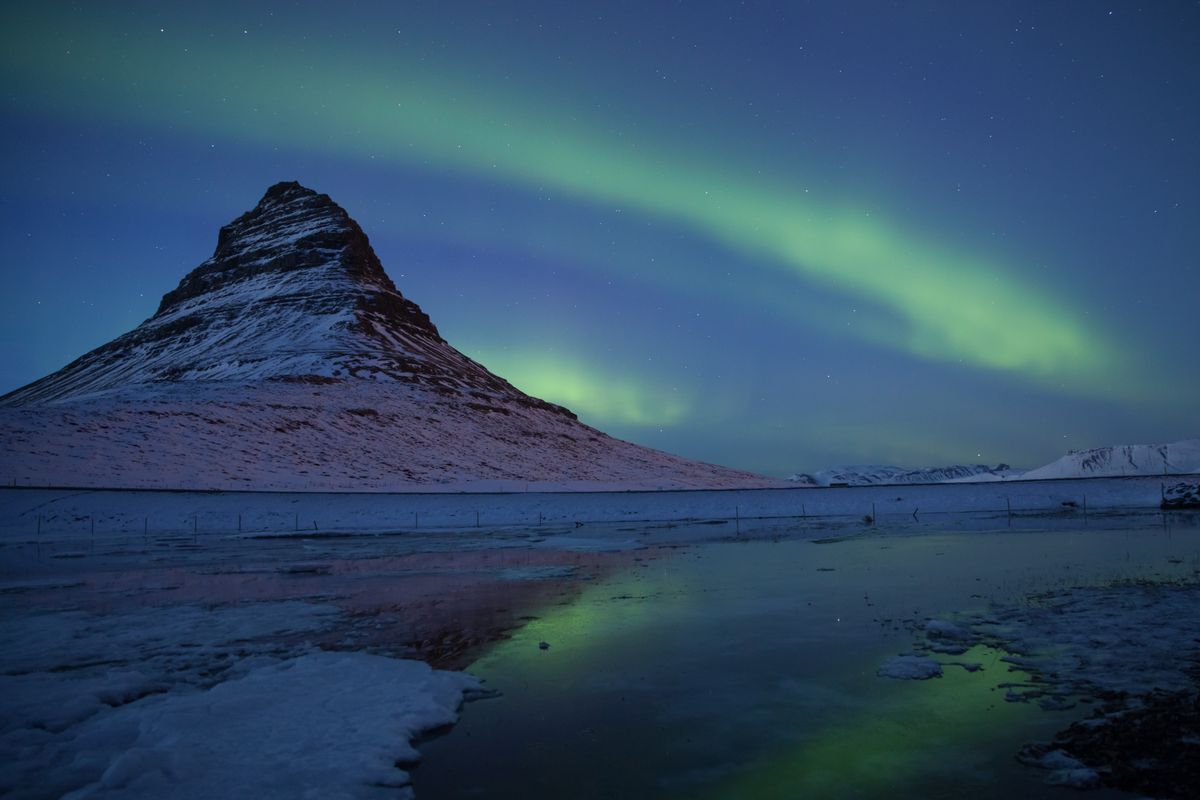
Seeing the northern lights in Iceland is a game of probability rather than luck, and the difference between people who see them and people who do not is mostly preparation. Three conditions have to coincide, two of them are forecastable, and the third is simply how many nights you give yourself.
This guide covers the best months, the three ingredients you need at the same time, where to go, how to read the forecast and how to photograph what you see.
Northern lights in Iceland: why here
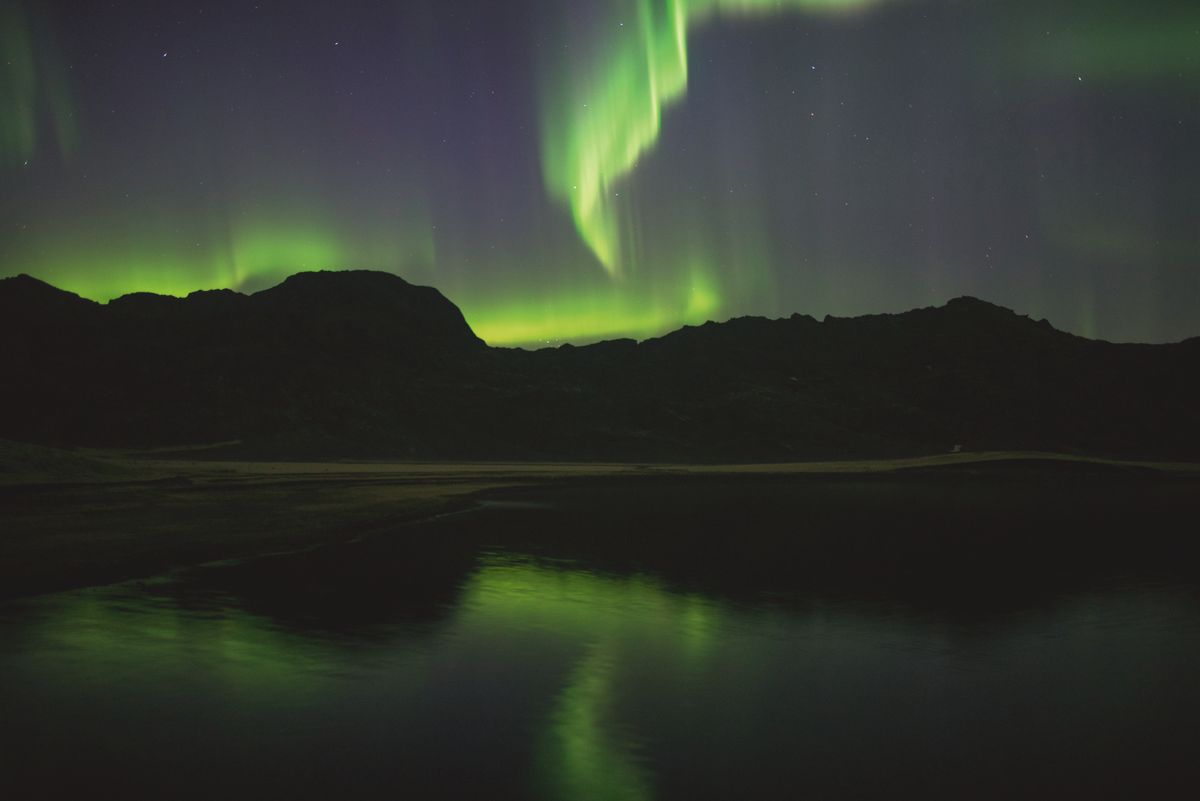
The aurora is produced when charged particles thrown out by the sun meet the magnetic field of the Earth and excite gas molecules in the upper atmosphere. Oxygen gives the green and occasionally red; nitrogen gives the blue and purple.
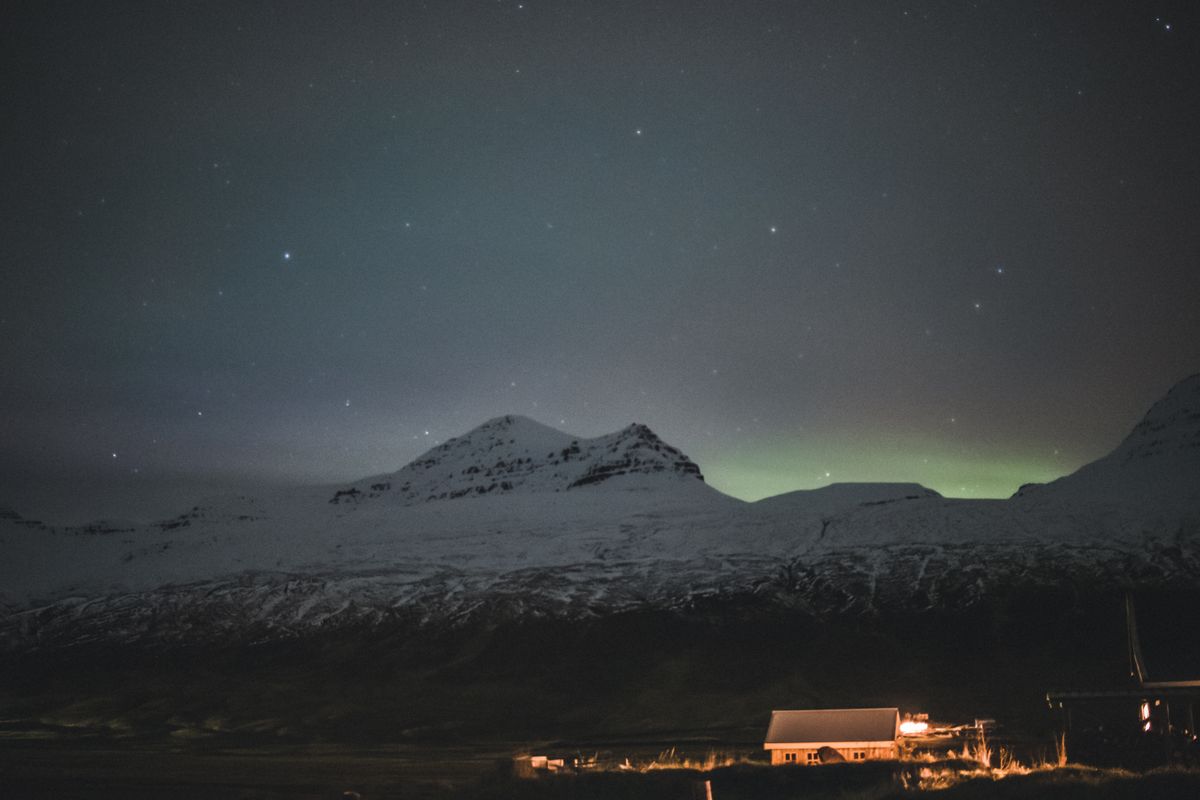
Iceland sits directly under the auroral oval, the ring around the magnetic pole where the lights appear most frequently. That means you do not need exceptional solar activity: on a clear dark night, moderate activity is enough.
The best months
The season runs from late August to mid April. Outside it, the nights are simply not dark enough, and in June the sky never leaves twilight at all.
| Period | What it offers |
|---|---|
| Late August to October | mild weather, autumn colour, roads all open |
| November to January | longest nights, but worst weather and most closures |
| February to March | good balance, statistically strong activity, snow scenery |
| Early April | nights shortening fast, mild, fewer visitors |
The practical conclusion is that there is no magic month, only a whole season of chances. September to October and February to March give the best combination of dark nights and drivable roads, which matters more than raw statistics.
The three conditions that must coincide
You need all three at once, and the absence of any one ruins the night.
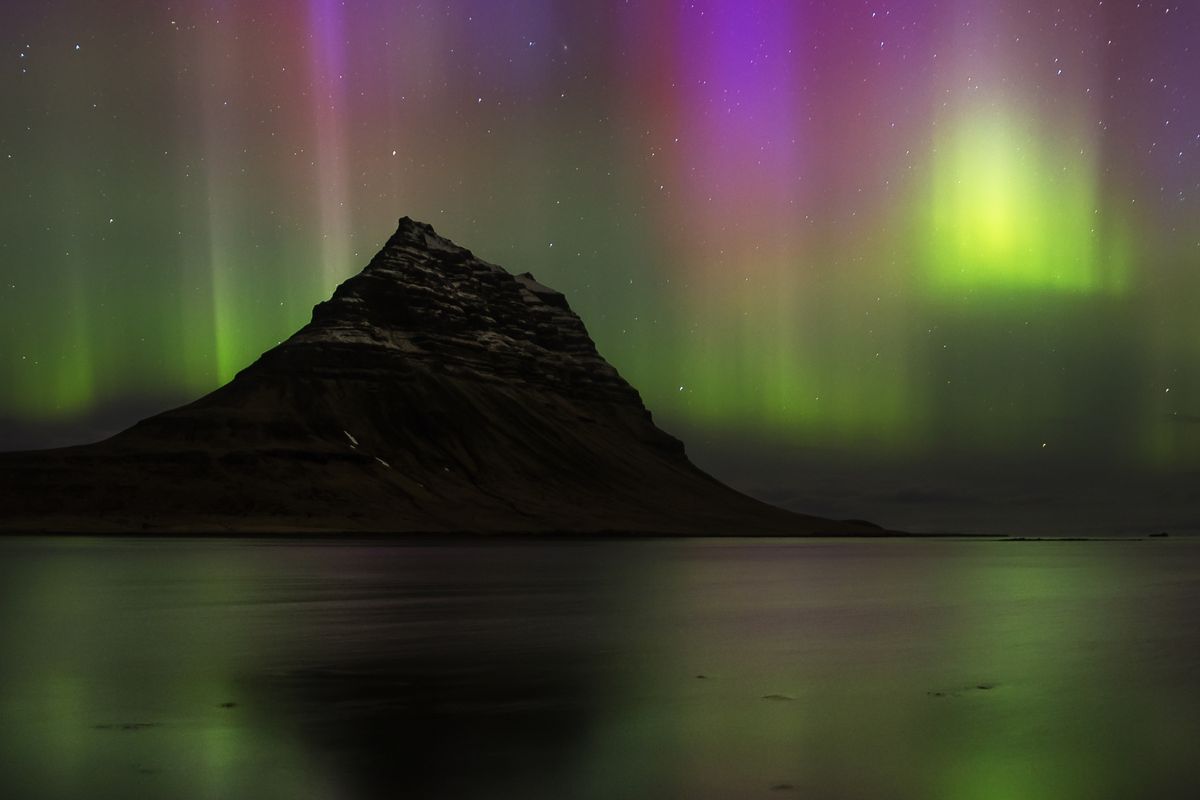
- Darkness: away from town lights, ideally with no moon, between roughly ten at night and one in the morning
- Clear sky: this is the one that fails most often. Cloud beats solar activity every time
- Solar activity: measured by the KP index. In Iceland, KP2 or KP3 is enough because of the latitude
The official forecast from the Icelandic meteorological office shows both the aurora activity and, crucially, a cloud cover map for the whole island by hour. Learn to read the cloud map rather than the aurora number: a KP5 night under cloud shows you nothing, while a KP2 night under a clear sky can be spectacular. The forecast is at the meteorological office aurora page.
The best locations
The rule is simple: any dark place with an open northern horizon and a clear sky is a good location. Some places are better because of what they put in the foreground.
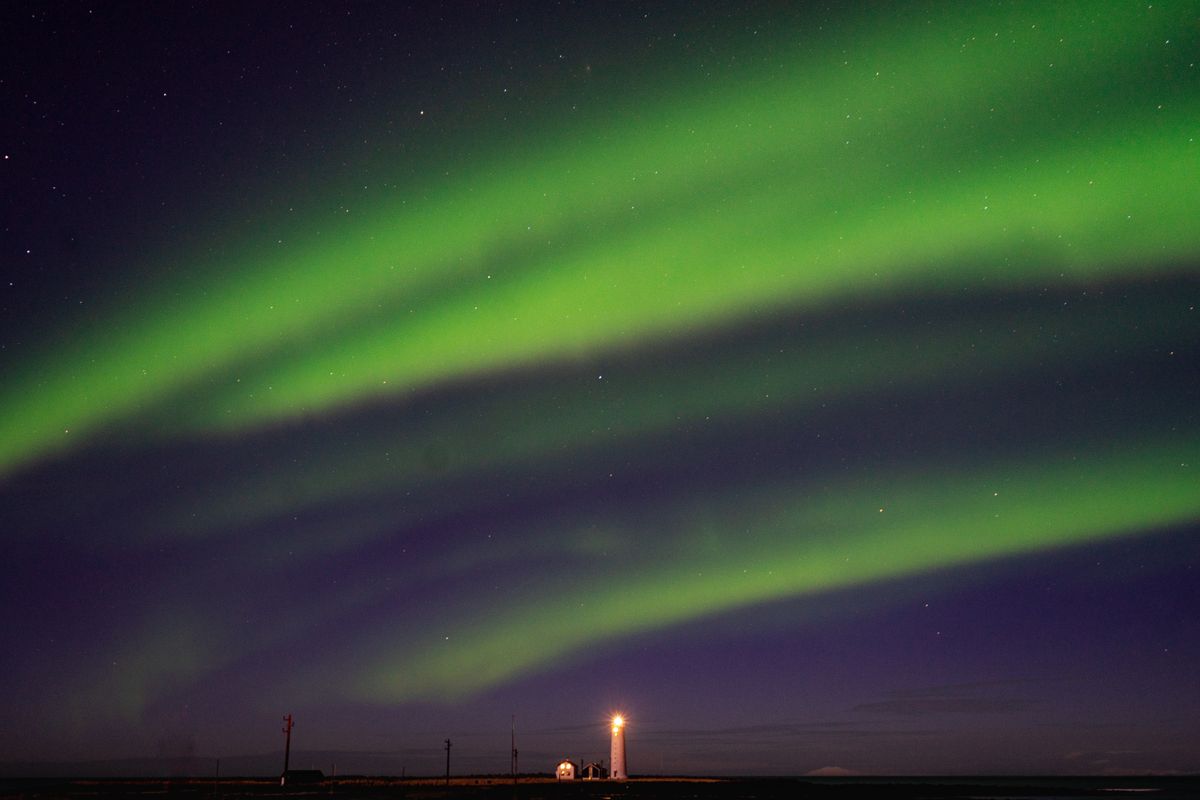
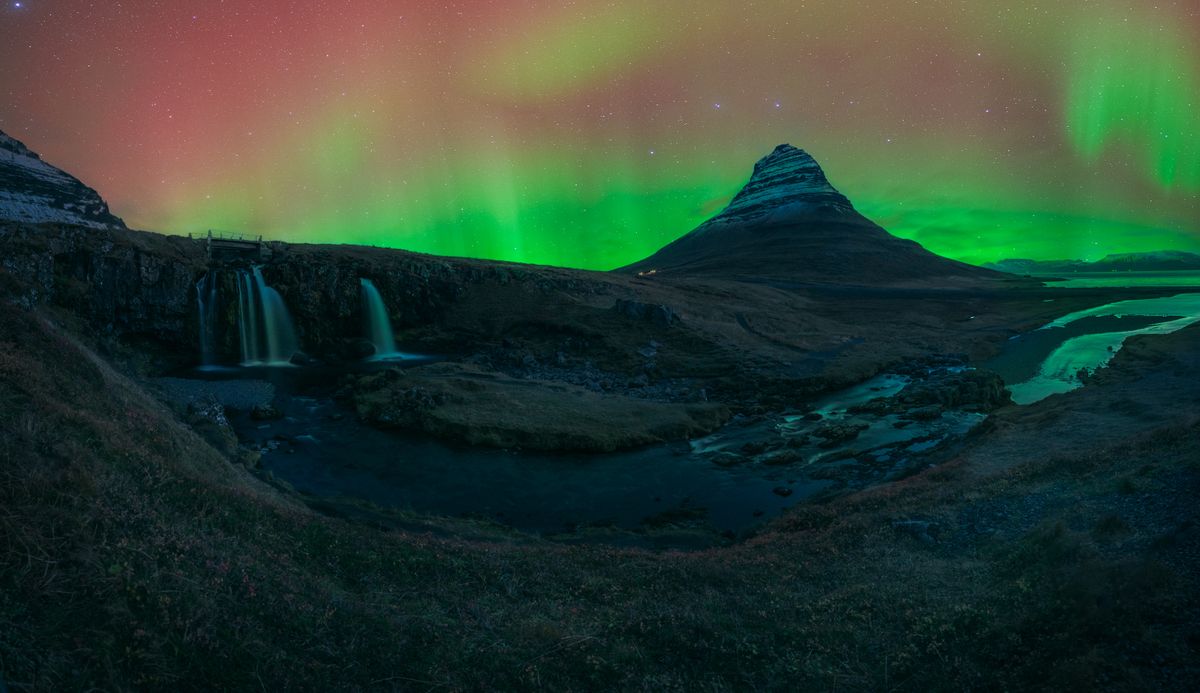
Mount Kirkjufell, on the Snaefellsnes peninsula, is probably the most photographed aurora setting in Iceland, with the conical peak and the small waterfall in front of it. It is also two hours from Reykjavik and busy on good nights.
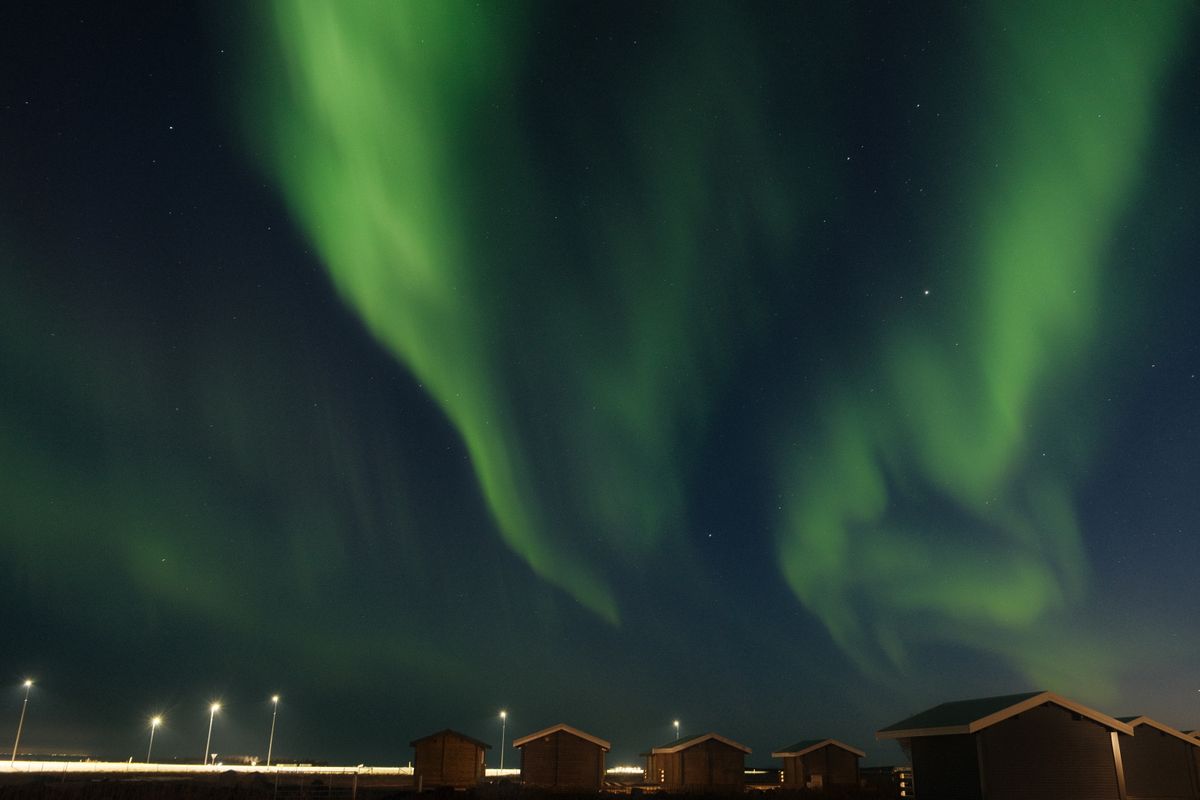
You do not need to go far from the capital for a real chance. The Grotta lighthouse, on the Seltjarnarnes peninsula at the edge of Reykjavik, is a genuine aurora spot reachable on foot from the city.
Thingvellir national park, part of the Golden Circle, combines dark sky with the dramatic landscape of the rift valley, and it is forty minutes from the city.
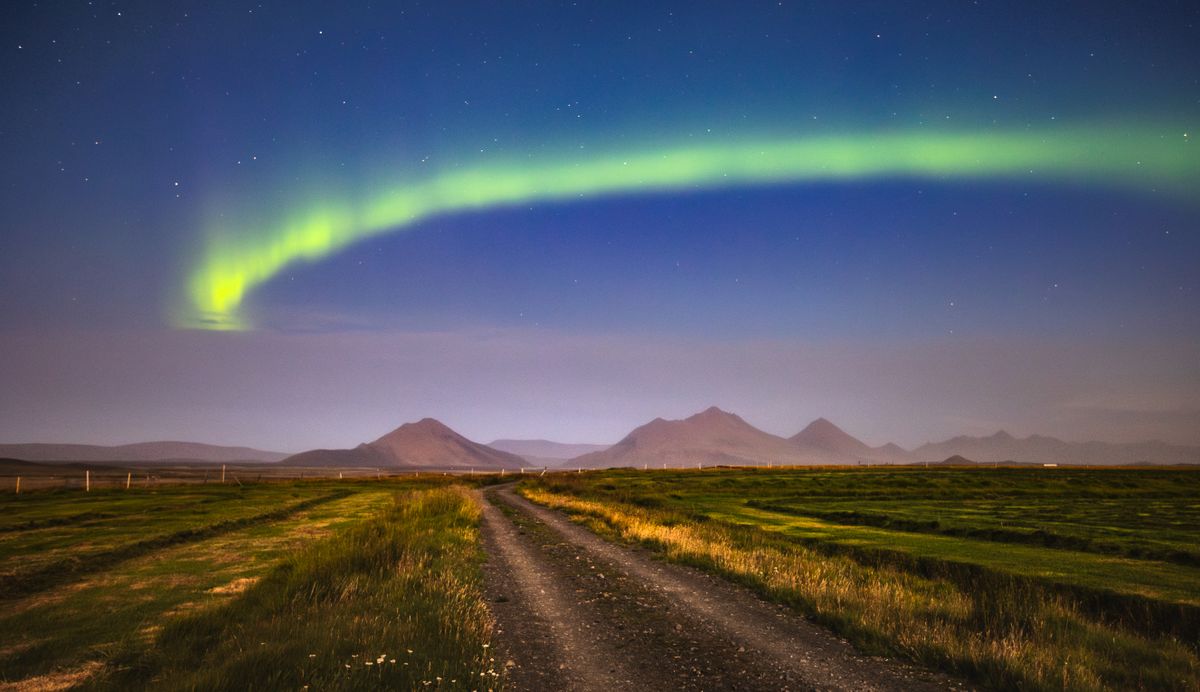
On the south coast, the aurora above frozen waterfalls or above Jokulsarlon, with icebergs reflecting the green, is the most spectacular version of all, and the hardest to plan for.
The hunt: forecasts and patience
The first principle is time. One night gives you a poor chance. Three nights make it likely. Five nights in the season make it very likely. Anyone promising the aurora on a two night trip is selling something.
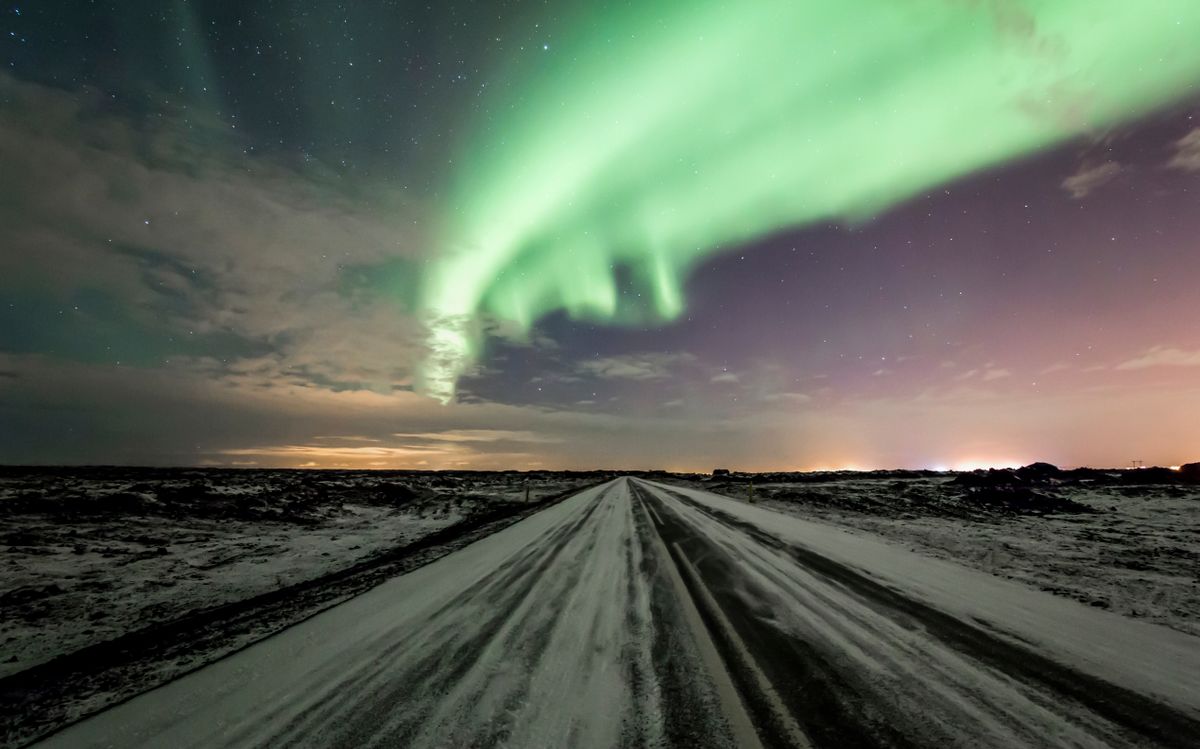
The second principle is mobility. In the evening you check the cloud map, identify where the sky is clear, and drive there. Icelandic weather is intensely local: it can be solid cloud in Reykjavik and perfectly clear an hour east.
The third is stamina. Displays often start weak, as a grey band that could be mistaken for cloud, and build over an hour. Camera sensors pick up the colour before your eyes do, so a test photograph tells you whether that grey band is worth waiting for.
Organised tour or on your own
Both work and they suit different travellers.
Coach and minibus tours have one large advantage: the guides know where the clear sky is, they do this every night, and most operators offer a free repeat if the trip fails. If you have no car, this is the answer.
On your own with a hire car you get complete freedom: leave when you want, stay as long as you want, choose the foreground. It is the better option if you have a car and at least three nights, and it is considerably cheaper.
Photographing the aurora
To bring home the images and not only the memory, a few settings do almost all of the work.
- A tripod is not optional. Exposures run to several seconds and nothing handheld will work
- ISO between 1600 and 3200, the widest aperture your lens allows, ideally f2.8 or wider
- Exposure of two to fifteen seconds, shorter when the display is moving fast
- Manual focus set to infinity, checked on a bright star, because autofocus will fail in the dark
- Shoot raw if you can, because the colour balance almost always needs correcting afterwards
Modern phones with a night mode capture the aurora surprisingly well, propped on a mini tripod or on a wall. They will not match a camera, but they will produce something you are glad to have.
One practical warning: cold destroys batteries. Carry spares in an inside pocket where your body keeps them warm, and expect roughly half the usual life.
General visitor information for the country is on the Icelandic national tourism site.
Frequently asked questions (FAQ)
Conclusion
The aurora is not luck, it is arithmetic. Three nights in season, a car, and the habit of checking the cloud map rather than the activity number will get most people the display they came for.
Go in September, October, February or March, stay at least three nights, drive to where the sky is clear rather than waiting where you are, and take a tripod.
